
To allow your students to access your Zoom sessions, you will need to add the Zoom LTI to your Blackboard course.
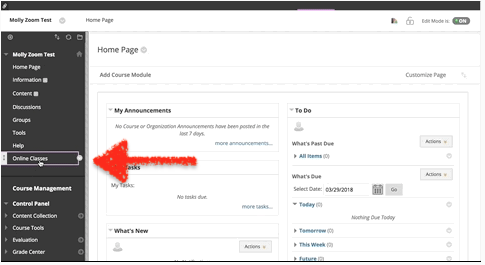
You can now move the link to an appropriate place on the Navigation Panel and click on it to access your Zoom account. Your students can also click on it to access the list of scheduled Zoom sessions for this course. An Announcement or Email is no longer needed to share the Zoom session link.
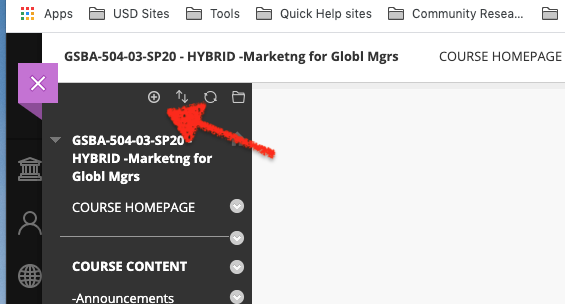
Adding Zoom to a course
- Open the course where you would like to add Zoom.
- Hover over + and choose Tool Link.
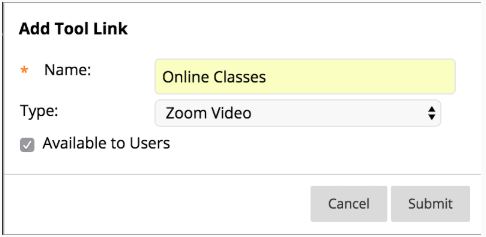
- Complete the Tool Link options.
- Click Submit.
Logging into Zoom from Blackboard
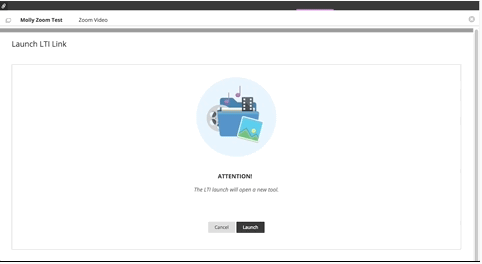
- To begin using Zoom, click the link in your course navigation. This will open Zoom within Blackboard and you will be prompted to login.
- Click the login button. This will open a new browser tab with Zoom.
- Zoom will open within Blackboard and you will be able to schedule, edit, delete Zoom sessions for this Blackboard course. These sessions will only show to students enrolled in the course when they click on the Blackboard Zoom link, but you will see all sessions you have created from other courses or your personal Zoom webpage.
To create a specific Zoom link as a class activity in you course content sections:
- Log into your desired Blackboard course Ole.sandiego.edu
- Make sure “Editing” is turned on
- Click on the “Course Content”, “Assignments Folder” or the area folder where you wish the Zoom activity link to be viewed.
- Click on the build content drop down in the menu bar.
- Select “Course Link”
- Under “Choose Item” click the browse button and scroll to “Zoom” from the pop box.
- Name the the activity (ie Zoom- Case Study Review virtual class)
- You can also enter a description or instructions for the link and limit the time and date the link is visible to students.
- Click submit